Description
When your goal is the maximum efficiency and power in your turbo diesel 80 series then you need to go for maximum intercooler exposure and flow. The large PDI front mount intercooler with 2 1/2″ pipework to and from the intercooler is the answer.
Many 80 series turbo diesel owners are happy with their power and are unaware of the gains that can be made with the upgrades. Intercooling can reduce the inlet air temperatures and make the engine more spritely and cleaner out the exhaust. Due to the ease of install, lots of people choose to go with a top mounted intercooler, as they simply bolt onto the engine and they get to install a bonnet scoop. Scoops are cool, but the cooling of the inlet air temperature is not as effective with a top mount intercooler. It should be no surprise manufacturers only mount the radiators at the front behind a grill.
At either high or low speed Landcruiser 80 series Front mount intercoolers have out performed all top mount and front kits.
Testing:
If considering the purchase of a top mount intercooler then you need to consider the results compared to our Landcruiser 80 series Front mount PDI front mount kits.
A normally sized top mount was able to drop the inlet air temperature from 130degC to 90degC when doing 100kph up a hill. Our smallest front mount was able to pull the temperature down to half that under similar conditions and got to maximum of 70deg with the input temperature of 260degC while making at least double the power and running over 40psi boost.
We did comparisons to the best of the aftermarket top mounted intercoolers on the market in the VDJ79 V8 installation. The factory top mounted intercooler was able to drop the temperature to 88degC (from 180-190degC), the upgraded top mount dropped the temperature to 75degC and our PDI front mount reached a maximum of 47deg under the same conditions on the same vehicle. That makes our front mount 3 times more effective than the aftermarket upgrade. Additionally our front mount dropped the EGT down from 330 to 280degC at 110kph compared the upgraded top mount intercooler.
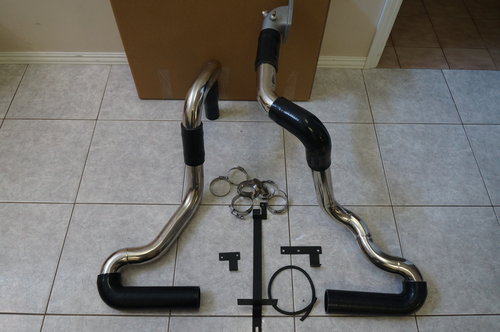
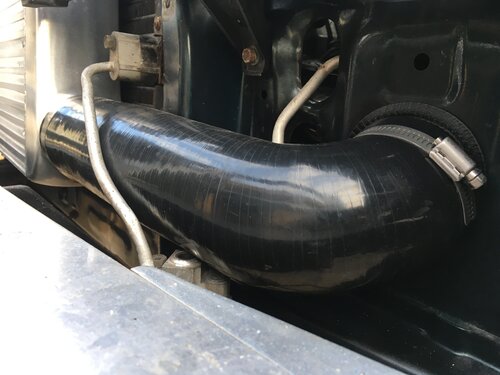
Utilising the heavy duty silicon and quality Breeze Aero clamps to seal between the stainless steel pipe, engine and intercooler, this unit will work flawlessly for many years to come.
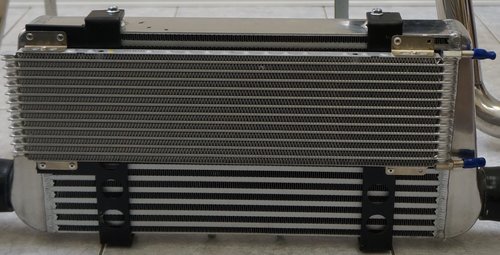
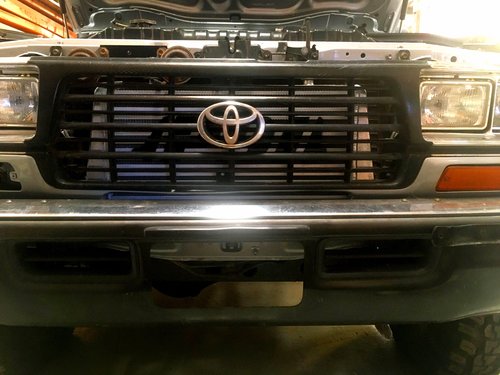
Bar and plate intercooler for extra durability in the rough environment available to the adventurous traveller. Located behind the grill, this is less likely to absorb heat from the engine and will cool down quicker than any top mounted installation.
Stainless steel pipework for both practical and aesthetic purposes. The pipe work is not routed through the wheel arches, but rather they make their way directly into the engine bay after going through the intercooler. This reduces the risk of damage from thrown up sticks and rocks.
With this Landcruiser 80 series Front mount PDI kit installed, the only thing holding you back to achieving your performance goals will be getting the correct amount of fuel and air supplied.
Expect at least 100degC drop in your EGT under medium and high load and an improvement in your air fuel ratios, which helps to improve your fuel economy as well as power.
For automatic transcoders we use a Canadian made oil cooler with a high BTU rating and place it in front of your intercooler on custom brackets, tucked inside the grill. If the transmission is making excessive heat then it is better to prioritise cooling of the transmission to protect an expensive part of your drivetrain. The bottom half of the intercooler, where the end tanks are located is still exposed to flow.
Will large spotlights affect the results?
This is a common question, and important question.
-
We have many owners who regard these as the best unit they have fitted with their ability to provide cool inlet air. That is after trying top mounts and smaller front mounts.
-
When tuning on the dyno we don’t have a large cooling fan in front so this simulates zero speed, high load situations with the only air being pulled through by the main engine fan.
-
For most the alternative is an electric thermo fan attached to a top mounted intercooler. They are working to overcome the heat rising from the engine and from the cores close proximity to the hot engine. The insulation in a electric motor is rated to a certain temperature and the best quality units will switch off when they get to 130degC to protect themselves. Instead of assuming them to be at their best when you need them the most, on a hot day under high load, you need to expect to have zero intercooler efficiency.
-
Front mount exposure compared to the opening in a bonnet scoop is significantly different. The placement is important as airflow over the bonnet into a scoop can be disrupted by bullbars and lights. Also some engine bays are positively pressured due to air hitting the front diff and other components – this means, just like your radiator, the best place to get cool air is at the front of the car.
Installation:
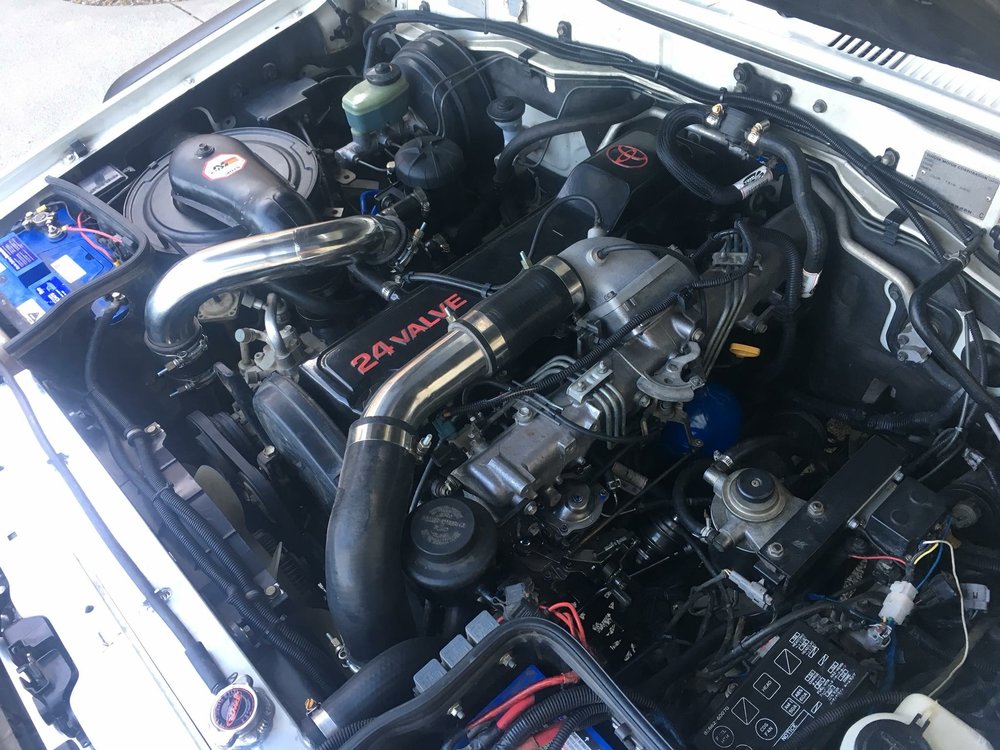
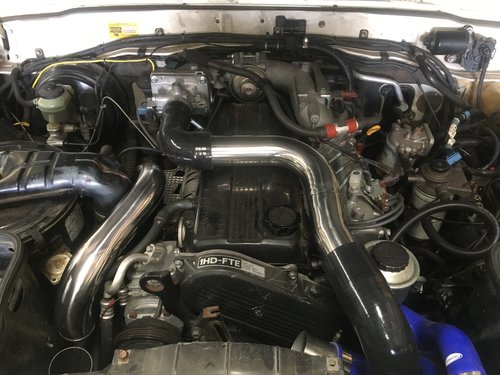
The use of 2.5″ piping (to prevent a flow restriction) makes this harder to install while staying out of the wheel arches. The pipe routing is under the batteries on each side.
Start by removing battery boxes, grill, headlight surrounds and metal panel below the grill. The bullbar can remain fitted.
Remove the centre bonnet support and install the replacement support bracket and bonnet latch. This will also support the bottom of the intercooler. Install the intercooler core.
A 3″ hole needs to be drilled on each side from the front into the engine bay. Once painted and pinch weld fitted, the pipe can then be fitted to the drivers side. Silicon can be cut to length and then installed with clamps.
Passenger side needs the brake line support bracket to be moved and then the piping will fit past it to sit just inside the top radiator hose outlet. Install the custom inlet manifold adapter and then all pipework.
If auto. the new transmission cooler comes fitted to the intercooler and should be plumbed up to the transmission.
Reinstall new front panels, checking for clearance and eliminate any rubbing. The lower metal panel can have a couple of long slots cut into it for more flow from the front.
Can I have the transmission oil cooler below the intercooler instead of in front of it?
We have placed the transmission oil cooler exposed to the cooler air charge in front of the intercooler for space issues and the importance the transmission is given the best chance for a long life. The life of an automatic transmission is directly related to how cool it can be kept.
If the transmission is making more heat due to the high load, this will reduce the effectiveness of the intercooler and results in making less power (a small amount). This is not a bad thing since if you kill your transmission, then you are both stuck and up for a large repair bill.
Another aspect, most people aren’t aware of is that when the torque converter is locked up, there is little to no flow through the transmission oil cooler. Therefore once you are locked up, which is generally when above 60-70kph the transmission cooler is not reducing the intercooler cooling efficiency at all.
We’ve seen the kits placing the transmission cooler down low behind the bumper / bullbar and don’t feel that will provide sufficient transmission cooling for a high power tune on the automatic. A number of transmission shops will tell you not to swap the factory transmission cooler for anything else. Thats why we use a quality Canadian built unit rated at 30,000BTU and ensure it will be able to get cool air. We have had people report slightly cooler transmission temperatures after the intercooler installation.
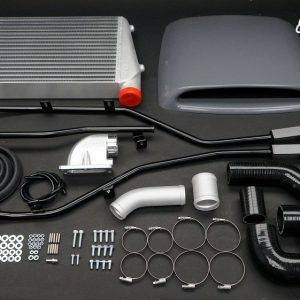
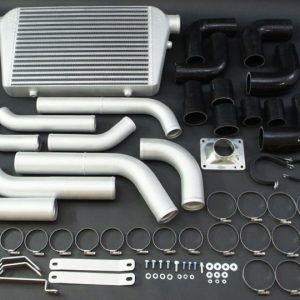
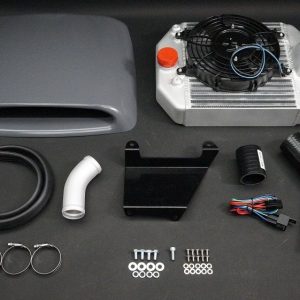
Kit includes
– brackets for mounting the intercooler with additional bolts
– intercooler 550x300x76, capable of supporting more power than we have seen one of these engines put out.
– polished stainless 2.5″ pipework
– heavy duty silicon elbows and joiners
– cast alloy manifold adapter specific for either the 1HZ/1HD-T or the 1HD-FT
– quality Breeze Aero clamps – better than all other screw type clamps and most T-bolt style.
– instruction guide.
To install you will need
– normal spanners and sockets
– 3″ hole saw and paint for protection.
– metal snips for trimming lower panel.




Reviews
There are no reviews yet.